 | |
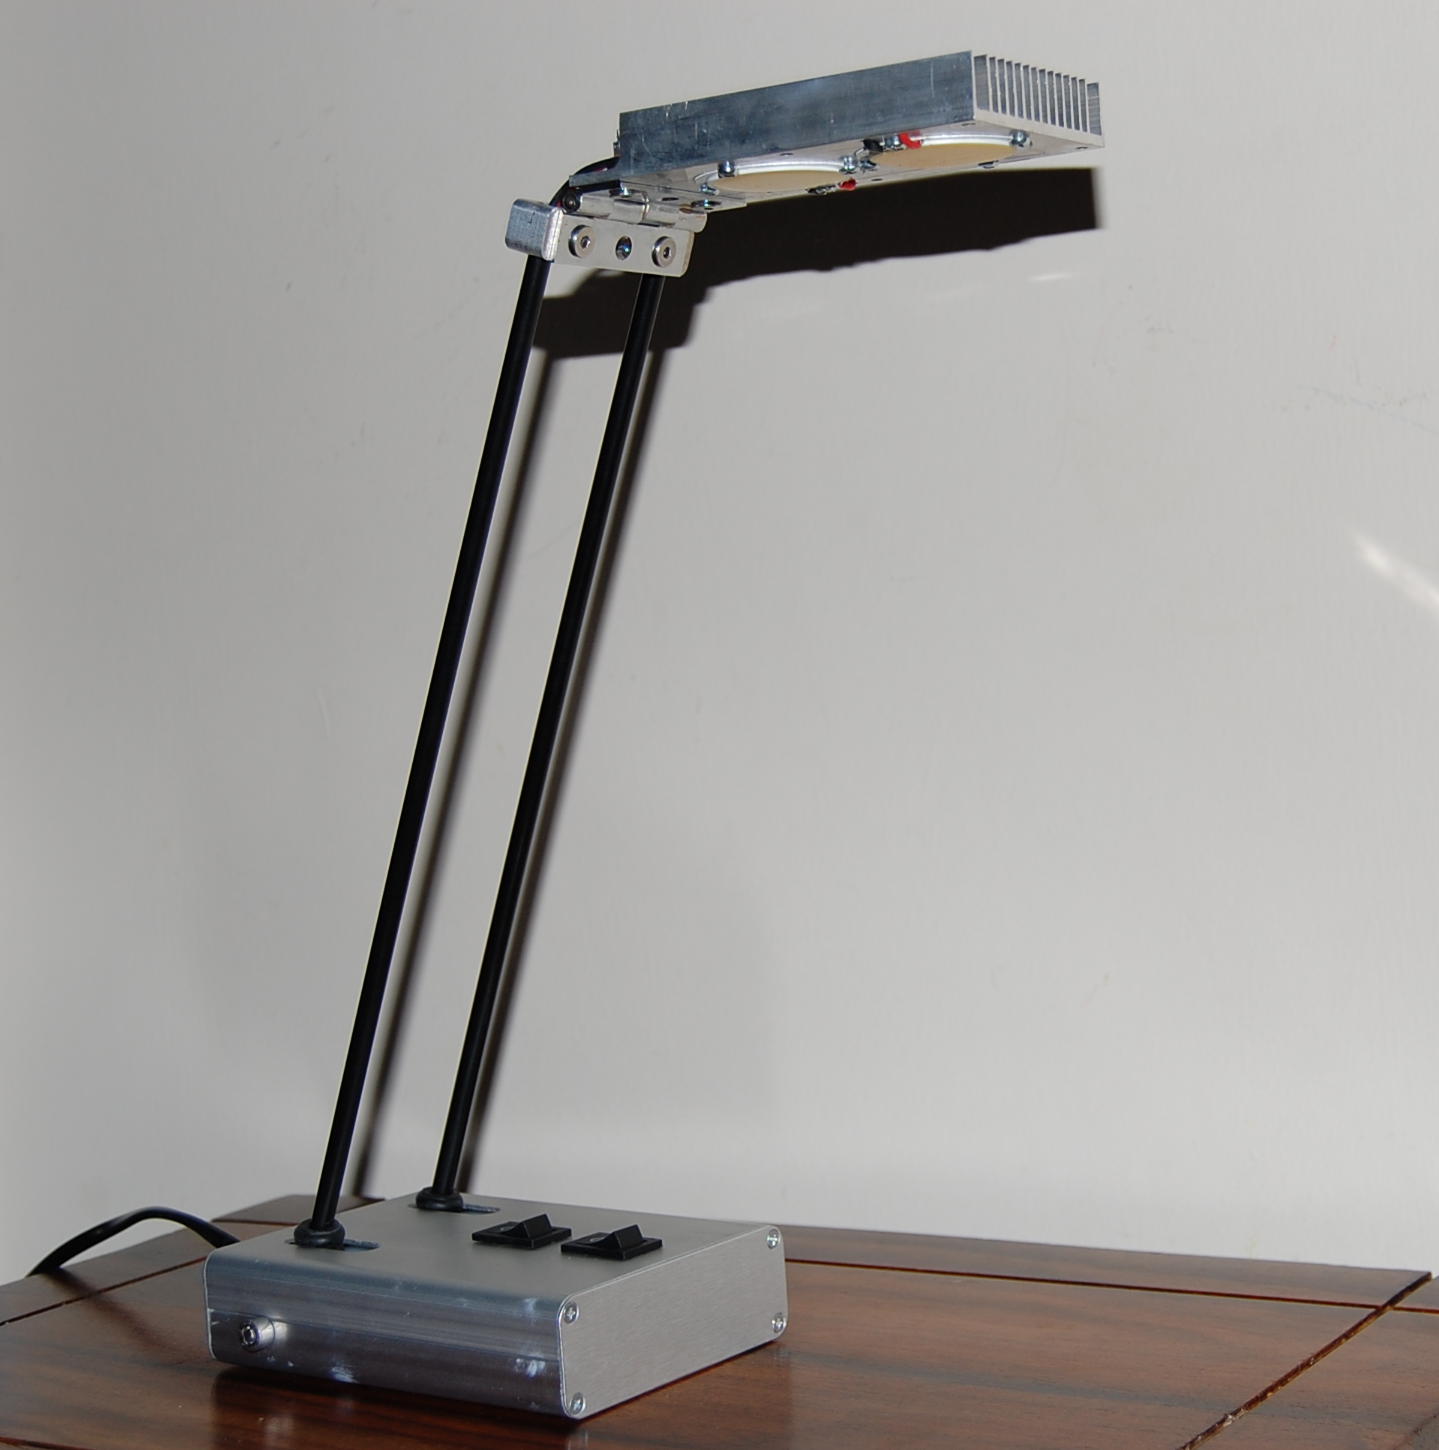
| Assembled Desktop Lamp | DXF design file (QCAD) |
Since I haven't found any suitable and reasonably priced LED lamp on the market I've decided to build my own. Bellow is the price breakdown of the components. I'm not counting some 10h of labour to machine parts and assemble the lamp.
| Description | Parts | Price |
|---|---|---|
| Aluminium Radiator (salvaged from old GameCube) | x1 | $0 |
| Aluminium Machined Joining Part (from 12mm plate) | x1 | $1 |
| 9W LED COB Chip 27-32V (40mm) | x2 | $5 |
| 300mA LED Driver (9-12W) | x2 | $5 |
| Aluminium Case 30*88*120mm | x1 | $10 |
| M5 Allen Bolt Cap Screw | x1 | $1 |
| Rocker Switches | x2 | $1 |
| 30cm Carbon Fiber Tubes (4mm ID, 6mm OD) | x2 | $7 |
| 1m AVG20 Silicon Wire (red+black) | x2 | $2 |
| 3m Mains Cable (salvaged from old appliance) | x1 | $0 |
| Nylon 20mm Rod (90mm long) | x1 | $2 |
| Cabinet Hinge | x1 | $1 |
| Lead Ballast (Ingots) | x1 | $2 |
| M4×10mm Sunk Screws | x4 | $1 |
| Tapered Screws | x8 | $1 |
| M4×5mm Grub Screws | x4 | $1 |
| Total | $40 | |
The lamp is extremely bright, it exceeds 5000 Lux on the desk surface with both LEDs turned on while it only draws 20W of power. The carbon tubes can bend between 45 an 90 degrees to adjust the distance to the desk surface. One (small) disadvantage is that the radiator gets quite hot and you can burn your hand or forehead if you touch it. I've measured 48oC and 62oC with one and both LEDs turned on.
First I've machined the aluminium radiator and joining parts, I've tapered the screw holes and cut the carbon rods to length. Then I've soldered the silicone wires to the 2 LEDs before fixing them (otherwise you cannot properly heat the solder joins). I've fixed the LEDs on the radiator by using some thermal paste for proper heat transfer. The aluminium base needed some light machining too for the bolt, carbon tubes and switches holes. The most difficult part to manufacture was the nylon rod because it required an off-center long and parallel hole. I've used a pin punch and a hammer to slightly deform the hinge to make it difficult to move and keep the lamp head steady. The base wiring is straight forward with each switch controlling one constant current supply (one per LED).
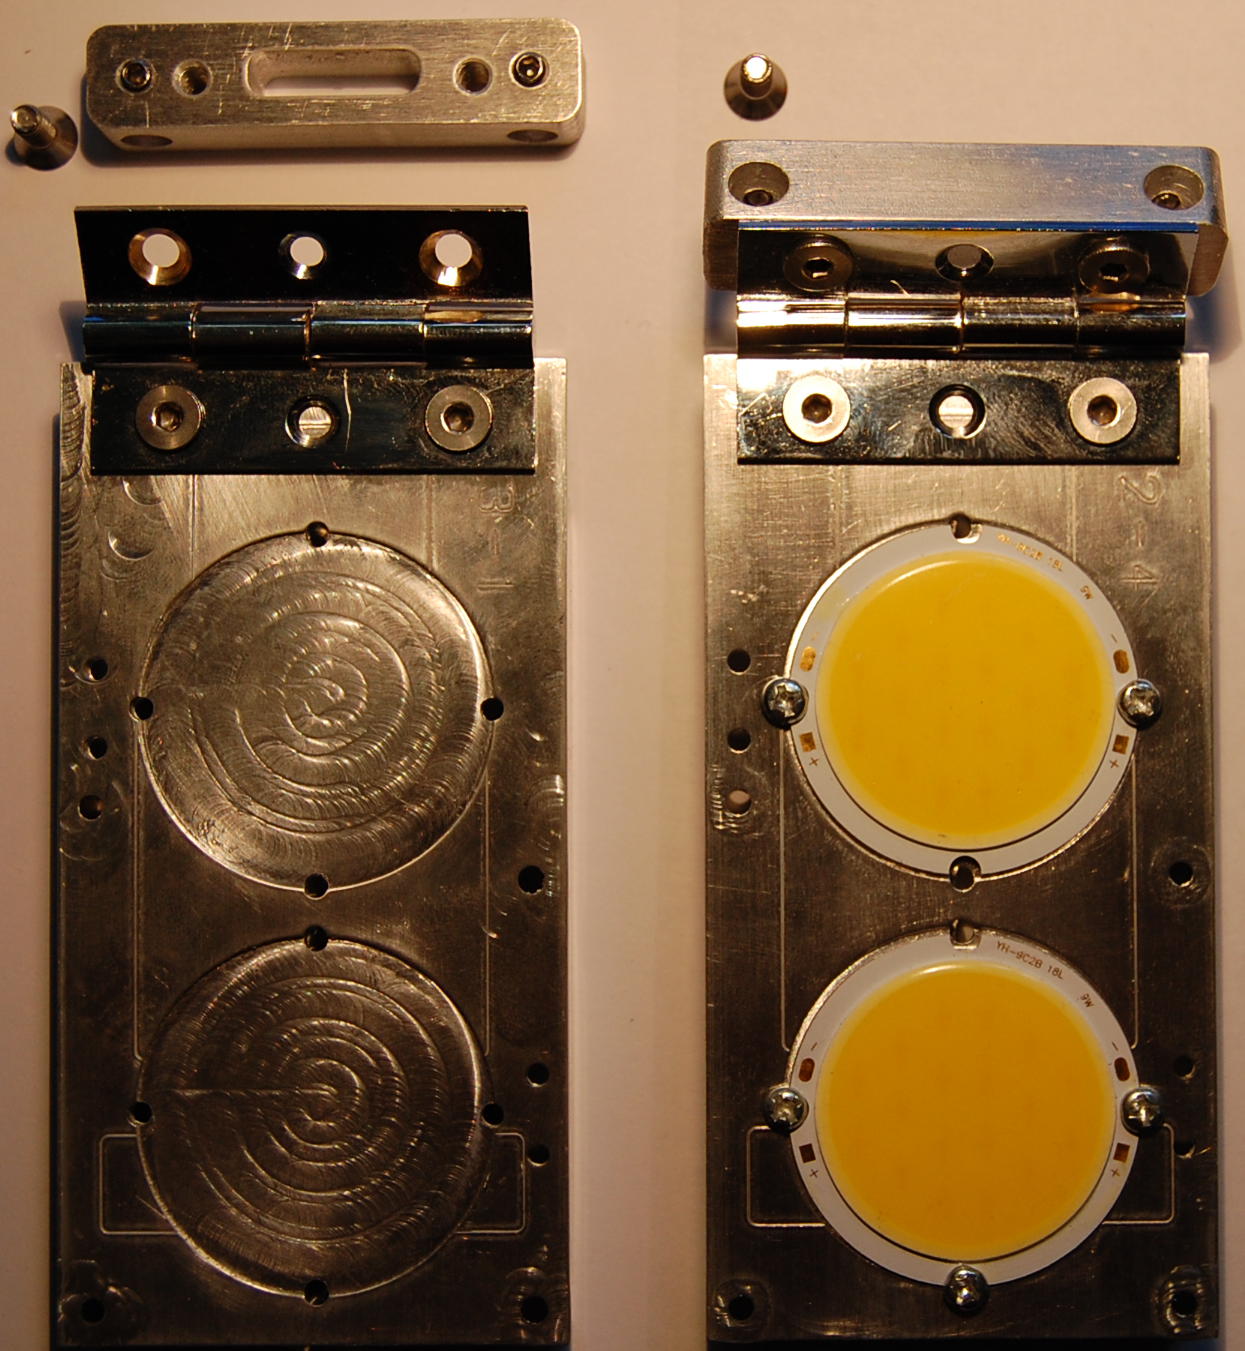 |
| Mounting the LEDs on the Radiator |
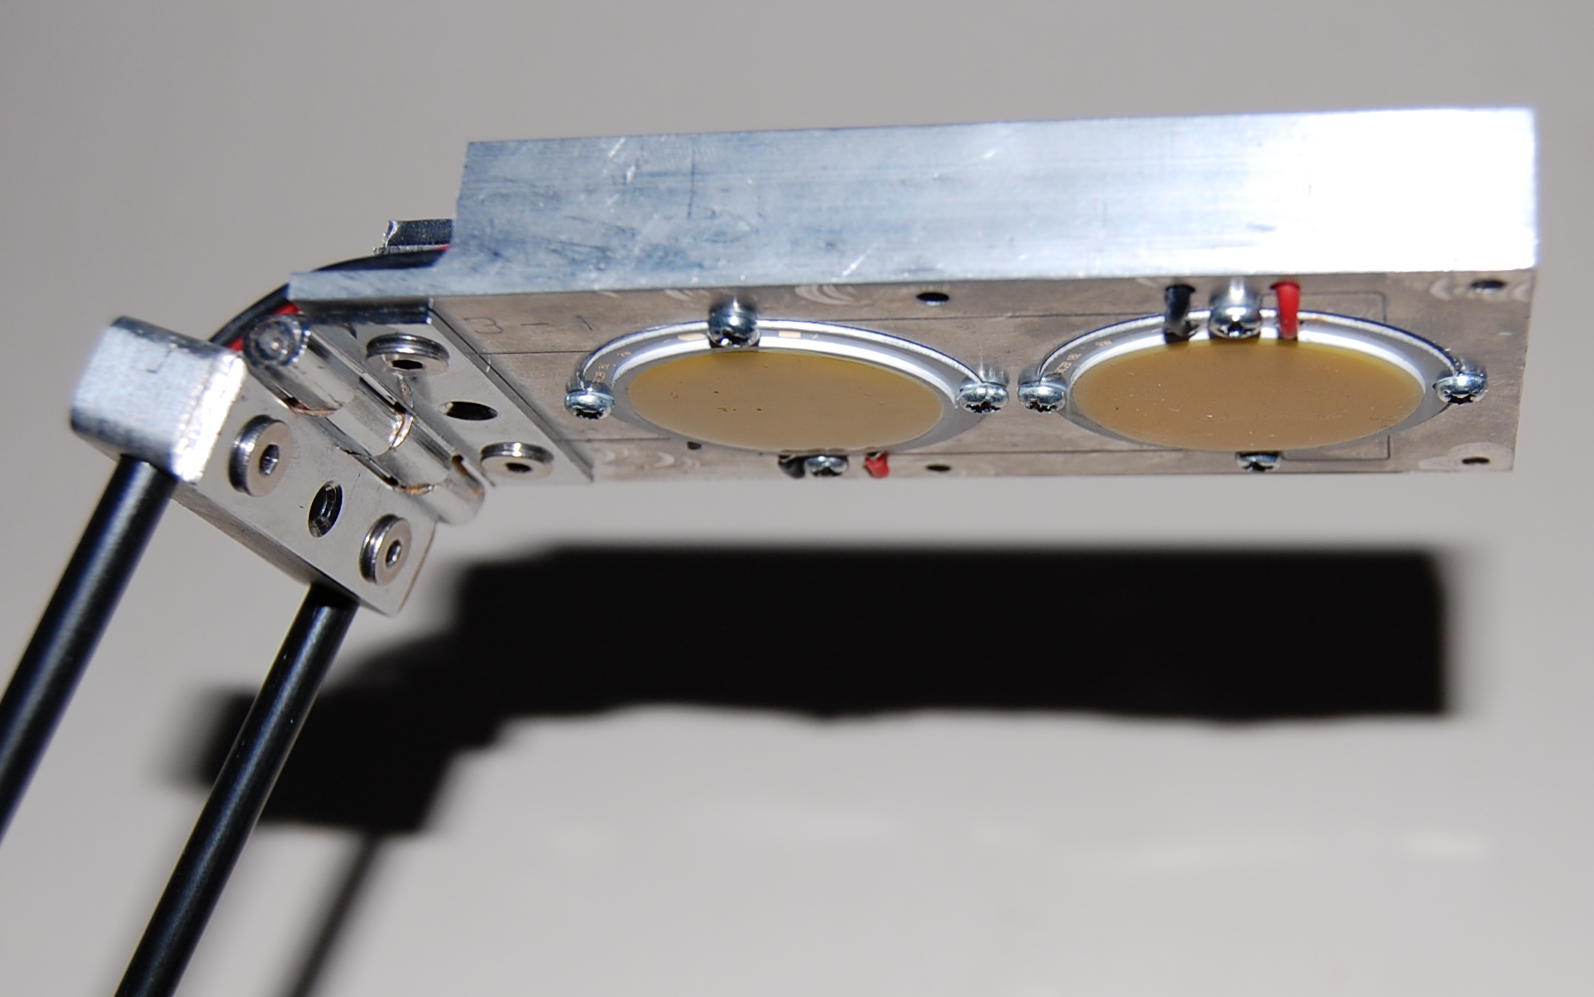 |
| Assembled Lamp Head |
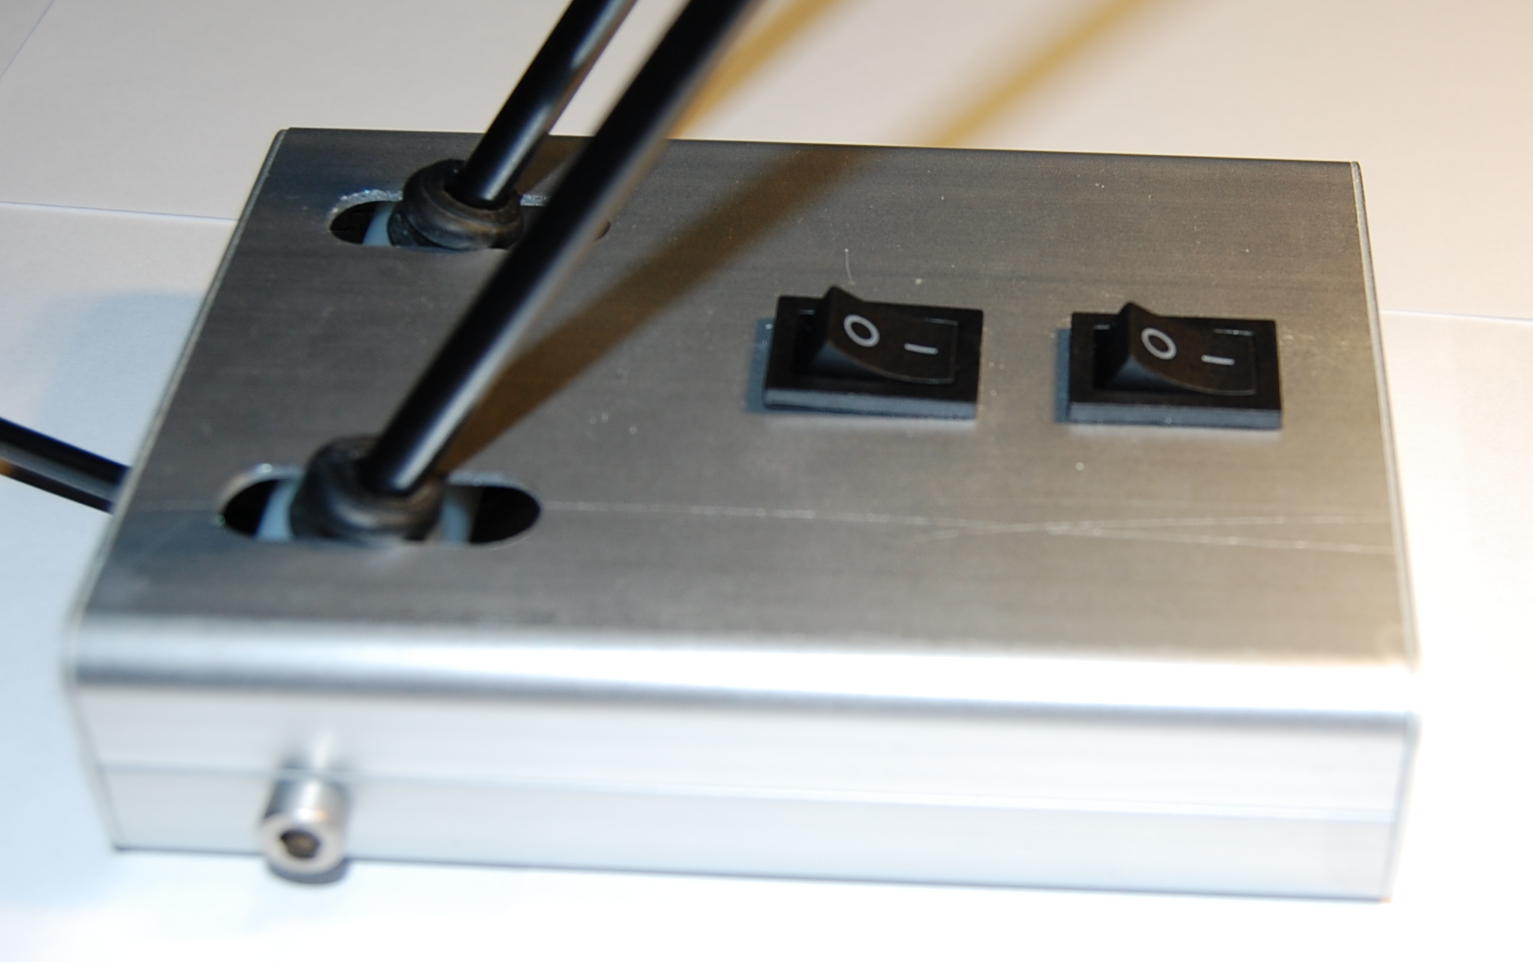 |
| Assembled Base |
 |
| Swinging Nylon Rod Support |
 |
| Constant Current LED Supply |
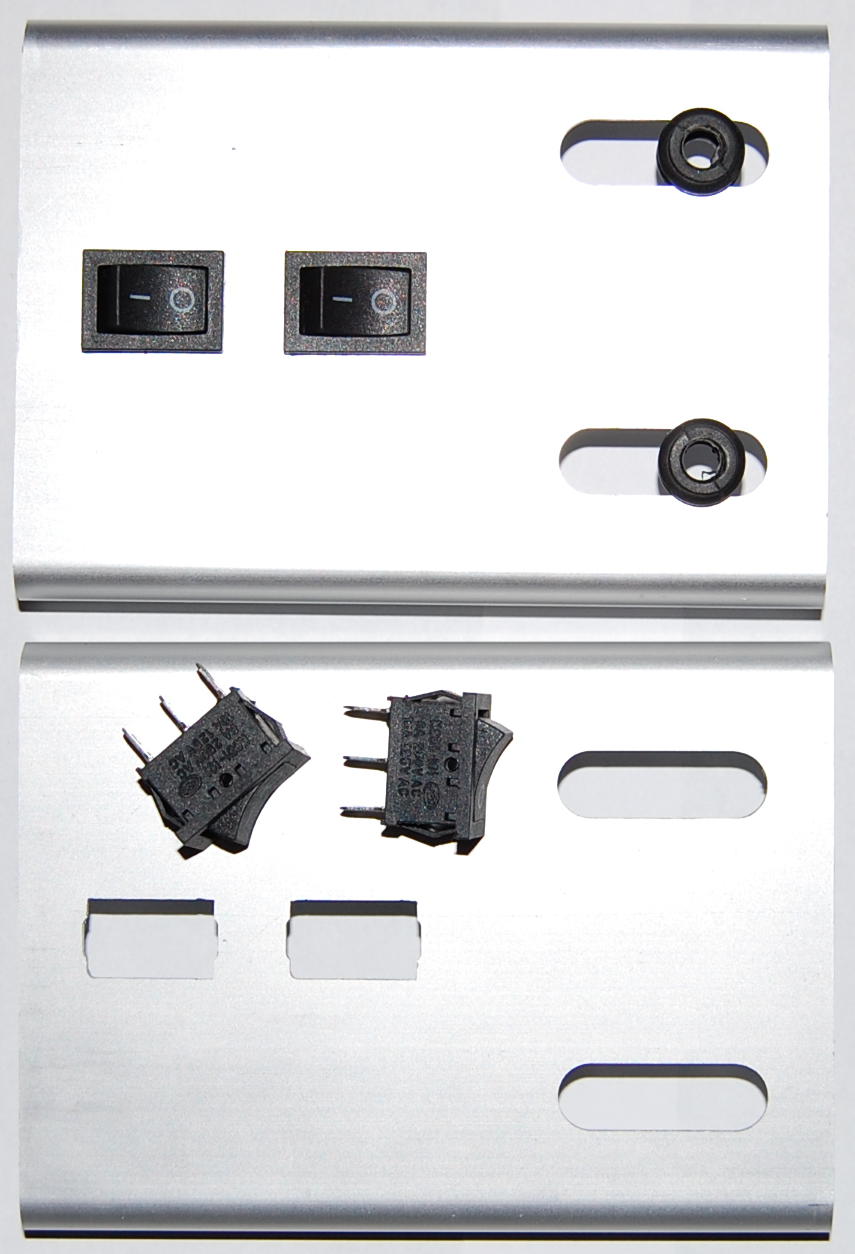 |
| Machined Base Top Plate |
 |
| Base Front View - Detail |
 |
| Base Back View - Detail |
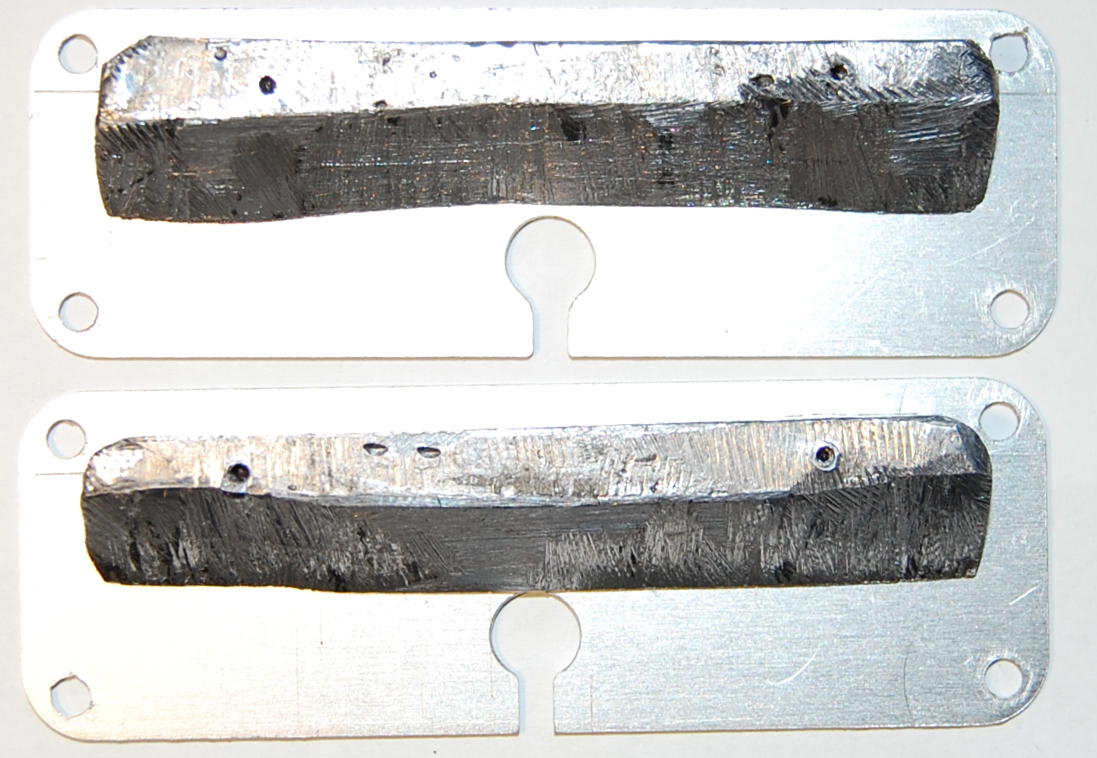 |
| Lead Ballast Attached to the Back Plate for Increased Balance |
|
| Assembled Desktop Lamp |
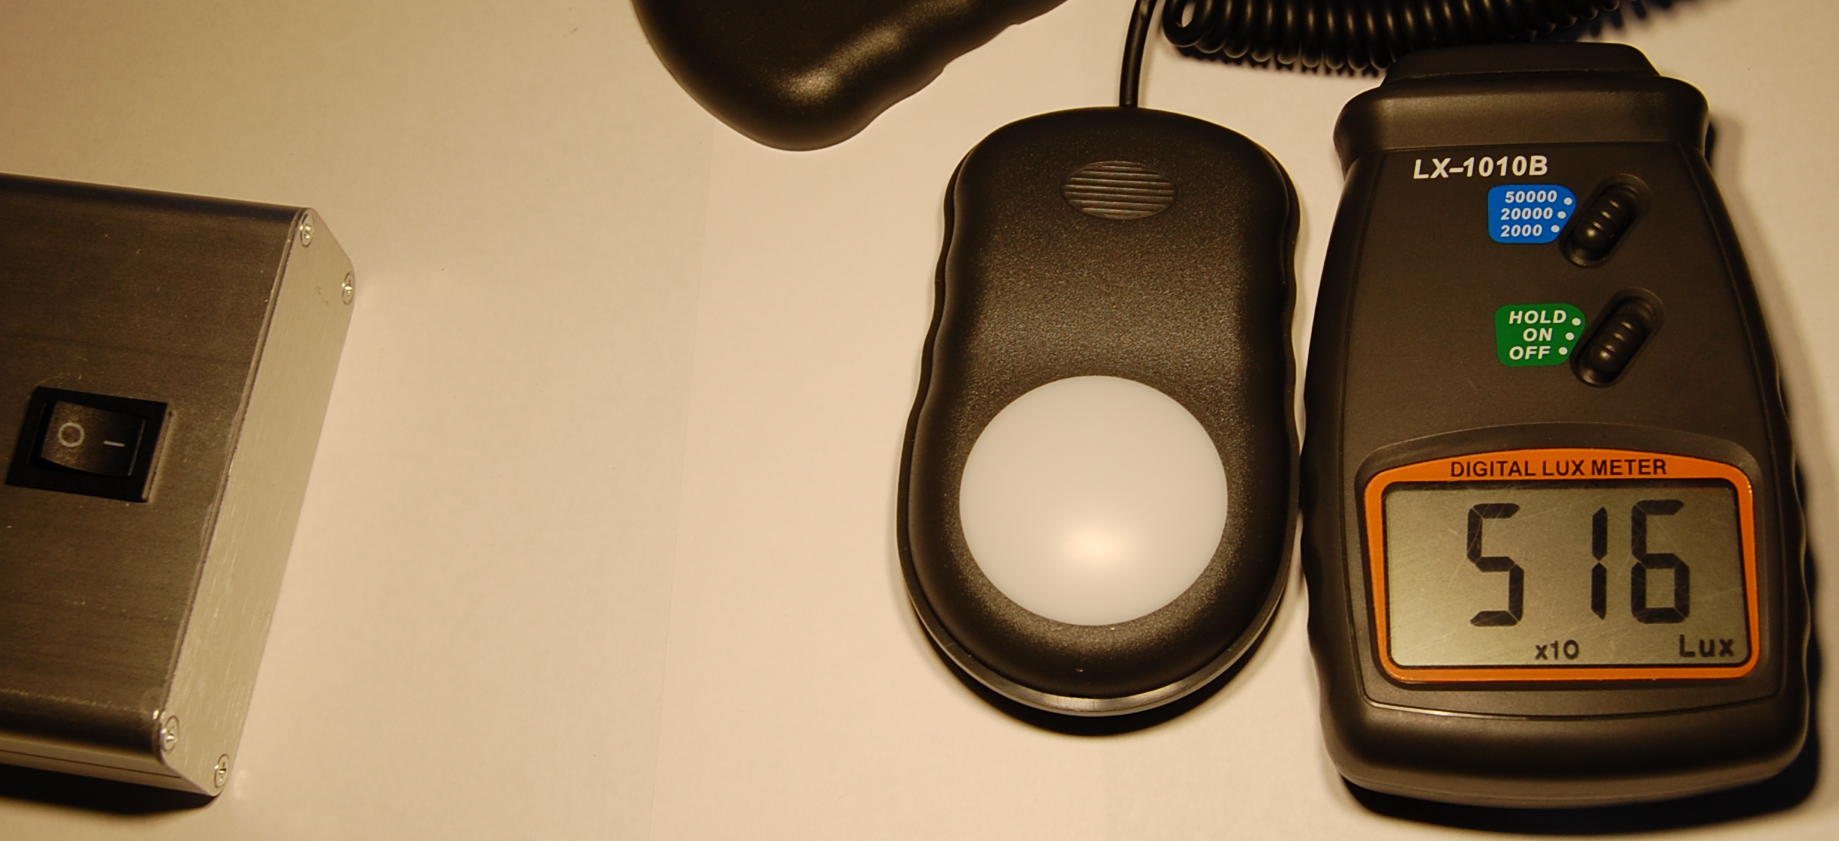 |
| Luminosity Measured with a Lux Meter |
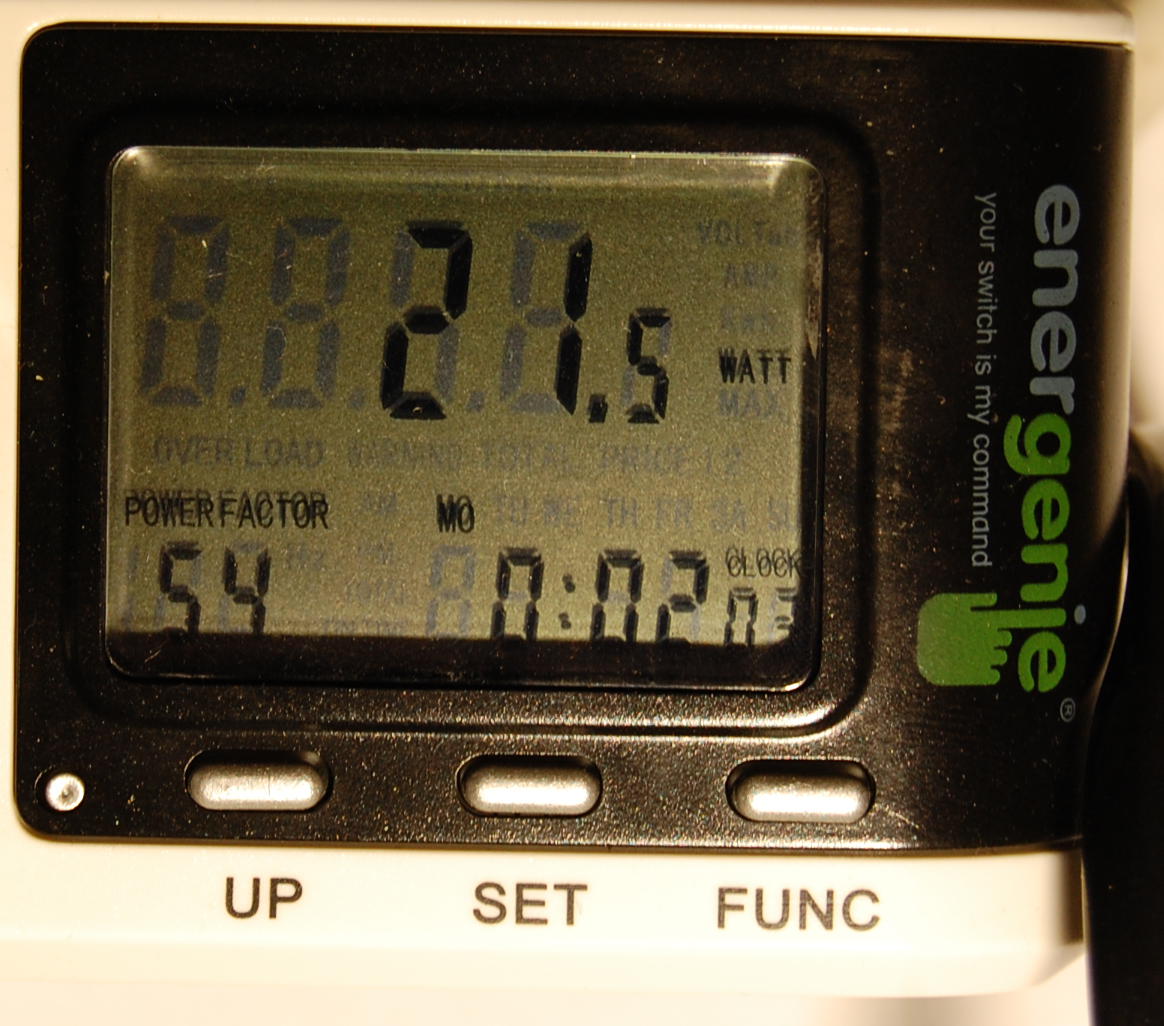 |
| Power Consumption with both LEDs On |
Great project. Simple and functional. Congratulations !
I also like the "Making a better HC-SR04 Echo Locator" project. I´ll try it.
Regards,
Prado from Brazil